Getting Started with the Healthjump Platform
Explore the typical process for painlessly onboarding practice locations.

STEP 1
Review Project Requirements
On a kickoff call with your client success manager you will review your options:
- How you’ll be accessing the data
- How often you need data collected
- Confirm initial EHR/PM connections
- Review your installation preferences
- Identify any customizations
STEP 2
Choose Your First Install
Healthjump will connect to any EHR/PM system, although some systems may require additional lead time for the first installation. 90% of installs will find their EHR/PM system on our list of ready-to-connect integrations. Integration support for new systems will be prioritized for practice locations ready to connect their system.
STEP 3
Complete Pre-Installation Tasks
The technical contact at a practice will schedule the installation time based on their availability.
To ensure compliance with privacy rules a business contact will receive a BAA between the practice and Healthjump prior to the setup and installation process. Please review and sign electronically before your scheduled installation date. This agreement does not supersede or replace the BAA you may have with third-parties you authorize to have access collected data.
STEP 4
Connect Agent Software to EHR
The installation process itself is guided by Healthjump. Their customer success team will walk you through what will be needed. The installation call takes up to 30 minutes and can be attended by anyone who has access to the database. If you have an IT vendor that you’d prefer us to work with, please don’t hesitate to let us know.
STEP 5
Begin Data Collection Process
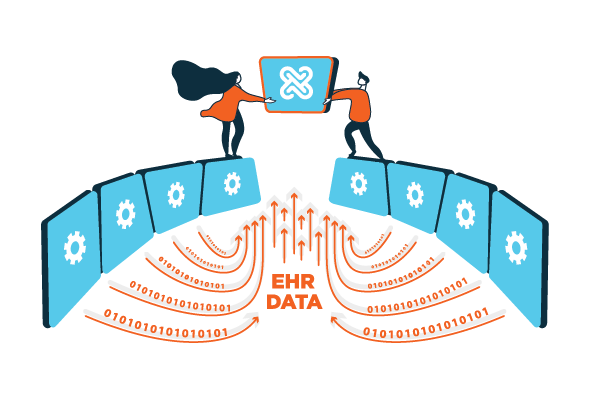
Once connected, the Healthjump Agent runs an automated process that extracts and maps all the collected data to a standardized data model.
STEP 6
Test and Validate Collected Data
Now that the data is aggregated in a staging area, validation scripts now look for any anomalies or inconsistencies. This is an ongoing process that identifies data quality issues before they can become a problem.
STEP 7
Provide Data Access and Review Custom Requirements
Once the data extraction and validation is complete we work together to verify your data requirements against any practice-specific customizations. For most applications, no further work is required. Although, some projects have custom requirements and additional collaboration is required. Whether adapting to a non-standard workflow or extracting a data type not supported by our standardized data model.
Example customizations include:
- Collect non-standard data
- Analyze open-text fields
- Write data back to the source EHR
STEP 8
Apply the Data in Workflows and Applications
Analysts, developers, or data specialists can now make use of the collected health data within their applications and workflows. Take advantage of multiple delivery options and specialized tools to integrate and query your aggregated datasets.
- API
- Webhooks
- Flat-File
- HL7 / FHIR
- Secure Cloud File Drop
- Database Explorer (DBX)


.png?width=300&height=50&name=Logo%20(1).png)
